With all the cardigan weather and pumpkin spice baked goods lately, I've been really getting into the autumn spirit this week, so I thought an autumn-color themed mani was in order! Since cool breezes and warm beverages make this my favorite season, it's no surprise that I have a ton of seasonal colors in my giant polish collection, and, brat that I am, I wanted to use ALL OF THEM. Well, that was impossible because I only have ten fingers so I settled on eight of my fall favorites and chose a ruffle pattern that wound up reminding me of that gorgeous multi-colored jewel corn that's used so often to decorate this time of year. So I got out my camera and decided to make a quick tutorial on how to achieve this easy, adorable ruffled look.

Please excuse my messy palm, I used it as a cleaning pad for my dotting tool.
Before I got started, I made sure to use a cuticle remover paste treatment and give my hands and nails a good scrub to make sure that my application would be easy and my edges would look clean. I also took a few minutes to ever-so-slightly roughen the surface with the fine-grit side of my buffer, remove any hang-nails, and file and shape the tips. After my nails were prepped, I massaged some coconut oil into my cuticles to make sure they were nice and soft, and then cleaned my nails thoroughly again so that they were free of oils that might prevent my polish from adhering to my nail and cause premature chipping!

Here's what my nails look like, naked, unmoisturized, and roughed up a bit!

And here they are with a coat of my favorite primer. (China Glaze Strong Adhesion Base Coat)
Primed and ready, I set out to choose my colors and the order in which I wanted my ruffle pattern! Here's a list and photo of the polishes I used.

Primer: China Glaze Strong Adhesion Base Coat, Base Color: L'Oreal Paris in Rainy Piccadilly, Rimmel London 60 Seconds in Golden Hour, NYColor in Battery Park Purple, Sinful Colors in Pull Over, L'Oreal Paris in Lifetime Love, China Glaze Kalahari Kiss, Mahogany Magic, and Harvest Moon. Top Coat: Seche Vite Dry Fast Top Coat.
I told you I had a lot of fall colors.
Anyway, to achieve the ruffle effect, I used a specially made dotting tool, but I could very easily have created the same look with a toothpick, bobby pin, the butt of a paintbrush, or the head of a pin pressed into a pencil eraser. So, if you don't have any special tools, not to fear, this requires only simple ones!
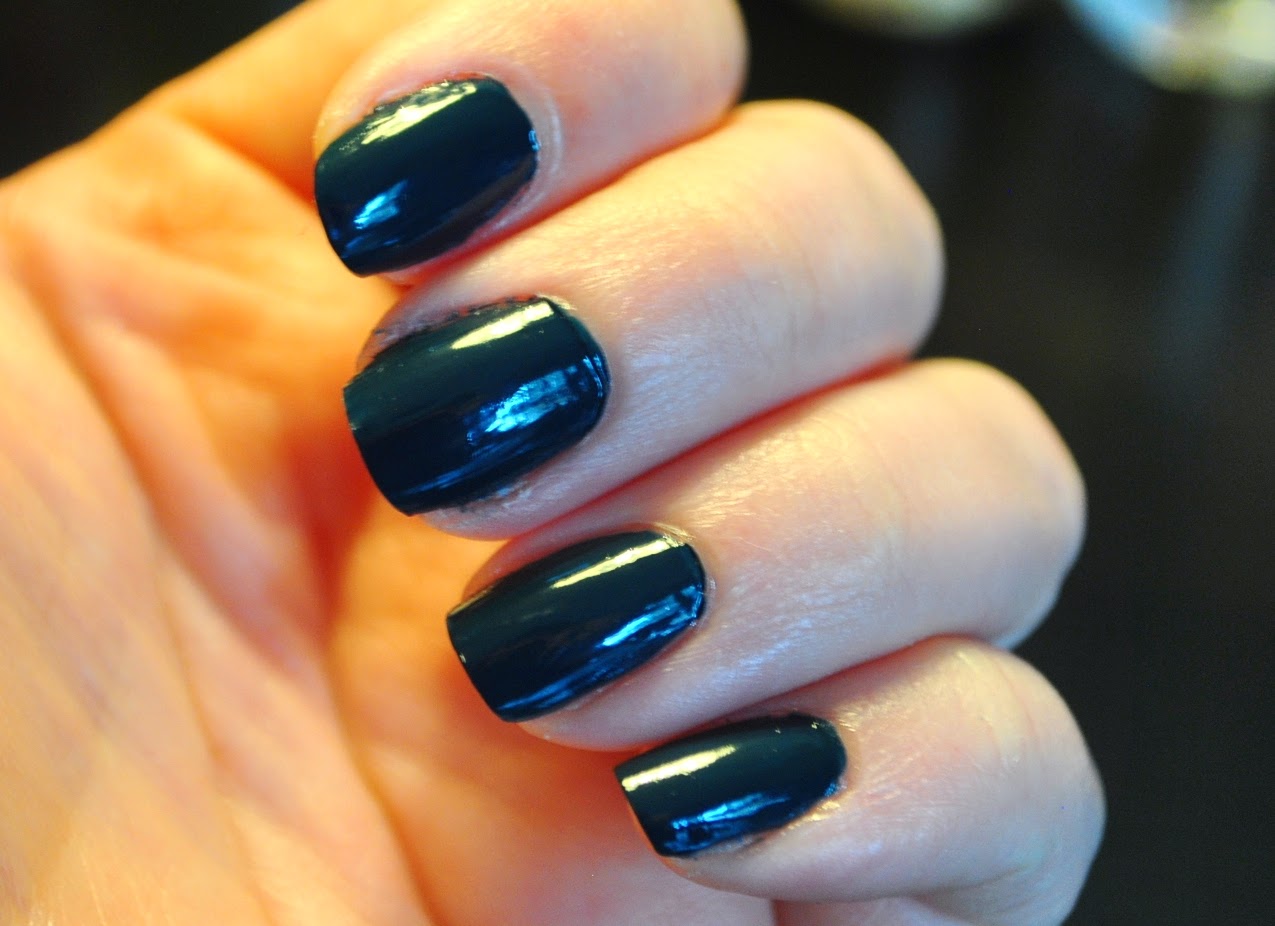
I started with two coats of Rainy Piccadilly as my base color. I love this creamy navy/teal color for fall.

Beginning from the cuticle end of the nail, simply make a row of dots by making a little pool of polish on a paper plate or sandwich bag (I used an old tile sample, because it was within reach and already had polish all over it), and dipping your dotting tool into the polish. Think "string of pearls".
Continue making rows of dots in your chosen color pattern, overlapping the rows as you go.

Here I am a few rows in. I wish I'd been more careful to make my rows more
evenly-spaced, and that I'd drunk a few less cups of coffee this morning.
Now, at this point I should let you know, that this is not a tidy process. For one thing, you'll need to wipe off the tip of your dotting tool between each color. I used the palm of my hand because I am impatient and forgot to prepare an acetone pad. Since you're smarter and more efficient than I, you'll put a cotton pad soaked with acetone on your paper plate palette to clean your dotter. Also, you're going to get nail polish ALL OVER YOUR CUTICLES. It's unavoidable, don't worry, that's why we trimmed and oiled our cuticles before we started, outside-the-lines polish is much easier to remove from smooth, healthy cuticles than from dry, jagged ones! Think Teflon versus Cast Iron.
Continue overlapping your rows of dots, stopping when you've overlapped the free edge of your nail.

Here's what they look like pre-cleanup and without a top coat. They're a mess.
To clean up, get out your acetone and a small, stiff paintbrush. It doesn't have to be a nail art brush, I just use a little watercolor brush I got at Walmart. Dip your brush into your acetone and drag it slowly around the edges of your nails. You may have to go over them twice or even three times, cleaning your brush in your acetone as you go, but if your cuticles are clean and smooth, it should take the excess polish right off.

And voila! Add a nice coat of Seche Vite Top Coat to protect, dry, and smooth
your creation! It will add a smooth shine and unify your layers.
Overall I love this look, but I would have done a few things differently. I used my largest dotting tool, which turned out to be a little clumsier than I would have liked. Doing it over I would have used a smaller dotting tip, and I would have paid closer attention to make my rows even. I love the colors I chose, but next time I will separate the China Glaze Mahogany Magic and Harvest Moon rows, since they are quite similar in shade. I thought they might be different enough since one is a rich creme and one is a very sparkly foil shimmer, and in person they look like distinctly separate rows, but the reddish-golden undertones in both meld together quite a bit in photos.
These ruffles are great for any color scheme, especially if you're as indecisive as I tend to be when choosing my colors! They'd look great in neons over a white base for summer, a grey scale hombre with a matte topcoat, or shimmery cool blue tones for winter. Any combination of colors you can dream up!
What a cute idea! I've got dotting tools on order, I think I'll definitely give this a try when they get here. Thanks for the inspiration :-)
ReplyDelete